A mid-sized retail store has a different camera profile than either a home or a large enterprise location. You have more foot traffic than a residence, more points of vulnerability than a small office, and usually a tighter budget than a corporate site. Getting the camera plan right matters because retail losses compound fast. A poorly designed system might catch a shoplifting incident on tape but miss the moment of concealment. Or it might record the parking lot beautifully while leaving the stockroom door in shadow.
Here is how to plan a retail camera install the right way.
Step 1: Map your risk zones first, not your camera positions
Before anyone starts picking out cameras, walk the store and identify where losses actually happen. In most retail, that list includes the stockroom entrance, the point of sale, the high-value merchandise aisles, the fitting rooms exit paths, the back door, and the parking lot. These are your must-cover zones. Everything else is secondary. When you start with the risks, the camera selection becomes a lot clearer. When you start with a camera budget and try to reverse-engineer coverage, you almost always leave gaps.
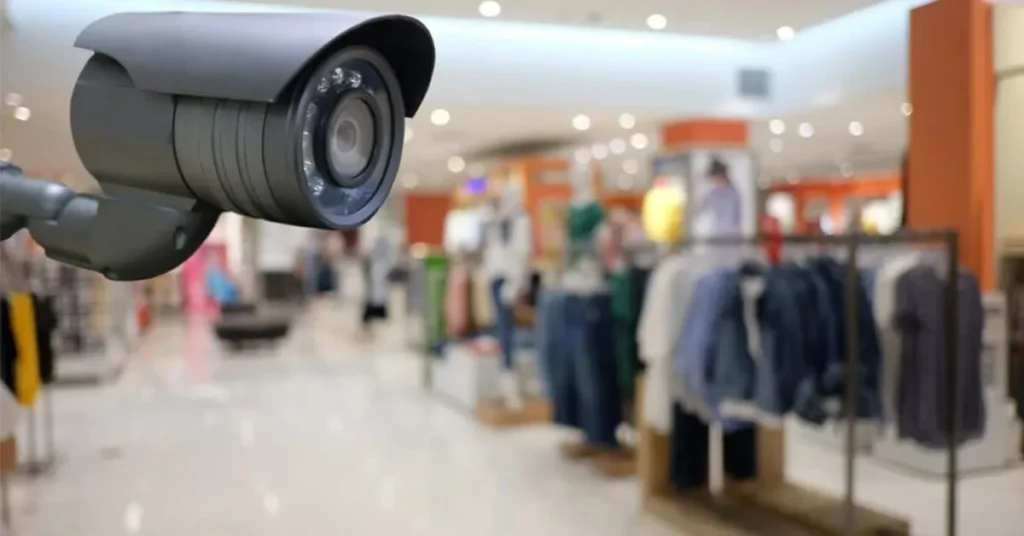
Step 2: Choose resolution based on the job each camera has to do
A camera at the point of sale needs to capture readable faces and clear transactions. That probably means a 4K or high-bitrate 1080p camera with a focused field of view. A camera in a back aisle mostly needs to show movement and general activity, which a 1080p camera can do well. A camera in the parking lot needs wide coverage and low light performance, which pushes you toward a different spec. Match the resolution to the purpose. Do not over-spec every camera, but do not under-spec the ones that matter most.
Step 3: Plan the network and storage before you buy cameras
Every camera is a data stream. Eight 4K cameras running continuous recording can eat through bandwidth and storage faster than most owners expect. Calculate the storage you need for your retention window, usually thirty days minimum. Budget for an NVR with headroom, not one that will be full on day twenty-nine. If you are mixing analog HD cameras with IP cameras, plan the wiring carefully so that you are not rebuilding the cable plant three years from now.
Step 4: Think about who will actually watch the footage
This is the step that most retail owners skip. A camera system is only useful if someone will review what it captures. Decide in advance who that person is. Is it the store manager checking incidents on a tablet? Is it a regional loss prevention officer pulling clips remotely? Is it a third-party monitoring service? The answer changes how you spec the system. Remote viewing needs a stable public-facing interface. Manager access needs an intuitive app. Full-time monitoring needs proper multi-screen VMS software. A good security camera installation planner will ask this question early and build the system around the answer.
Step 5: Lighting and camera placement are a package deal
Cameras fail in low light more than people realize. A beautiful 4K camera in a dim stockroom will give you grainy footage that is useless for identification. Either choose cameras with strong low-light performance or plan to add lighting where needed. Often a fifty dollar LED fixture changes the camera output dramatically. Also think about backlighting. A camera pointed at a glass storefront during daytime will fight against sunlight all afternoon. Angle those cameras thoughtfully or use wide dynamic range models that handle the contrast.
Step 6: Secure the recorder, not just the cameras
The NVR is the weakest link in most retail systems. If a thief takes the recorder, they have taken the evidence. Mount it in a locked cabinet or a secure back office. Better yet, configure cloud backup for critical zones so that even if the local recorder is stolen, the footage survives. This is a cheap safeguard that most retailers ignore until after their first serious incident.
Step 7: Install with future expansion in mind
Retail spaces change. You might open a second register next year. You might move the jewelry counter. You might open a back patio that needs coverage. Run extra cable to likely future camera positions during the initial install, even if you do not add cameras right away. Running cable through occupied space is much more expensive than running it during a build-out or during hours when the store is closed.
Step 8: Train your staff on the system basics
Your store manager should know how to mark an incident, export a clip, and preserve footage for law enforcement if needed. These are not technical tasks, but they are different enough from daily retail operations that staff will get them wrong the first time under pressure. A thirty-minute training session during the install saves hours of frustration later.
Putting it all together, a good retail camera plan balances coverage, resolution, storage, and workflow. It does not try to put a camera on every square foot, and it does not cheap out on the cameras that matter most. It also plans for the human side, for who will watch the footage and what they will do with it. Retailers who plan this way tend to get real value from their camera spend. Retailers who treat it as a checkbox tend to end up with systems they never look at until it is too late.